Course Overview
Complete guide to the Vätintie Open 2025 championship course
Course Information
- Total Holes: 11
- Total Par: 42
- Course Type: Park Course
- Location: Raunistulan area
- Terrain: Mixed parkland with trees and open areas
Key Features
- 🌲 Dense forest sections (Holes 2, 6, 11)
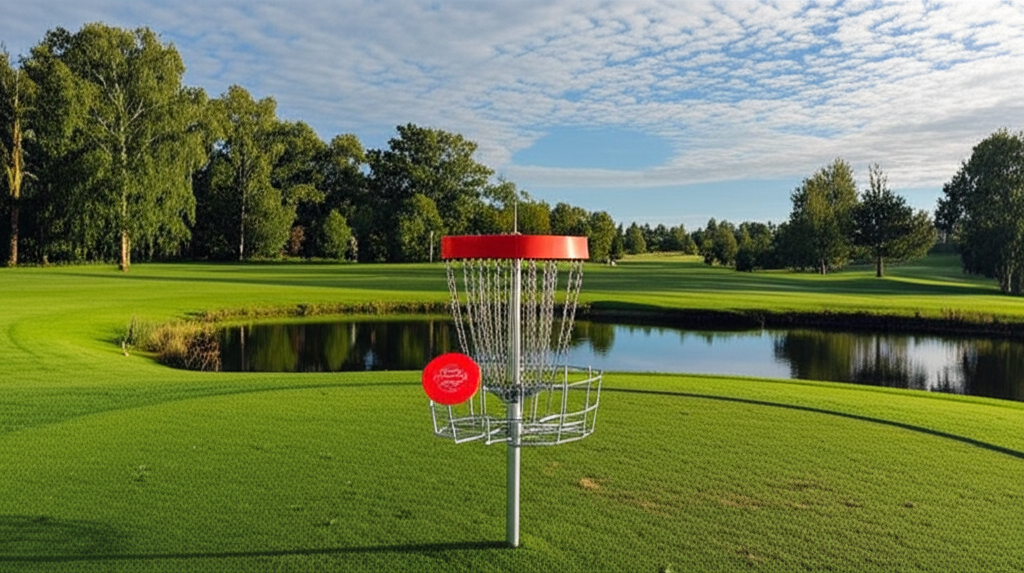
- 💧 Water hazards (Hole 3)
- 🏔️ Elevation changes (Holes 5, 10)
- 🌬️ Open field challenges (Holes 7, 14)
- 🪨 Technical obstacles (Hole 8)
- 🚴♂️ Multi-use areas (Hole 7)
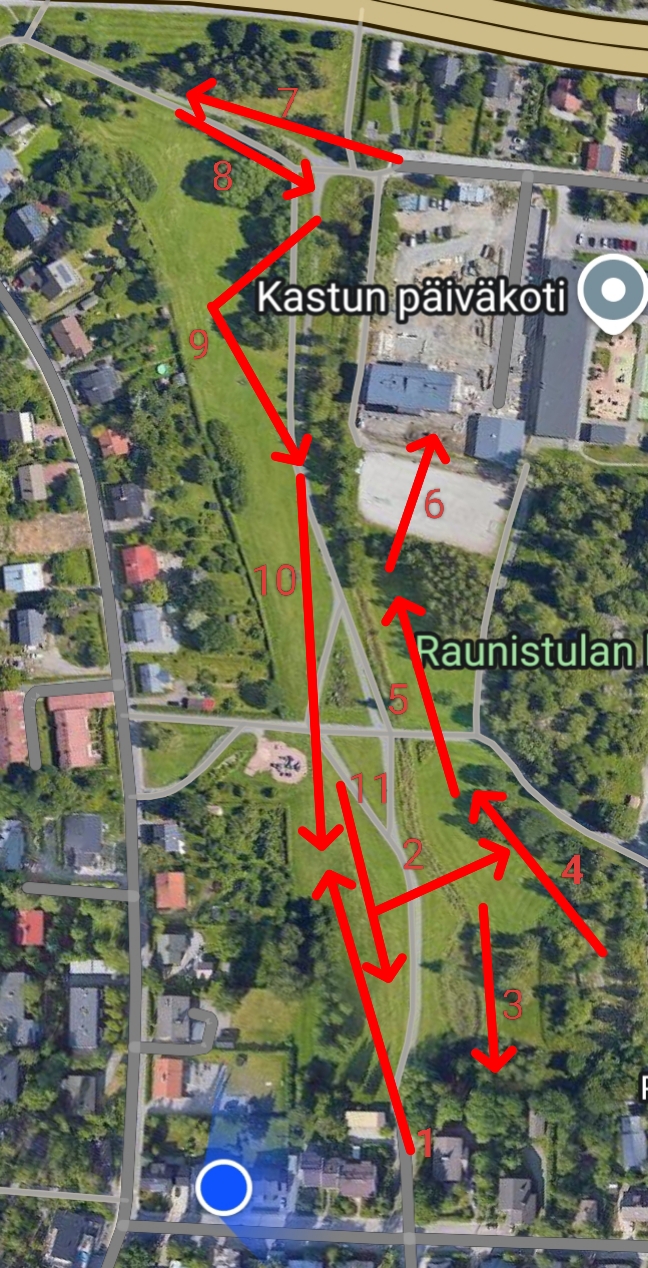
Course Map Legend
Hole-by-Hole Breakdown
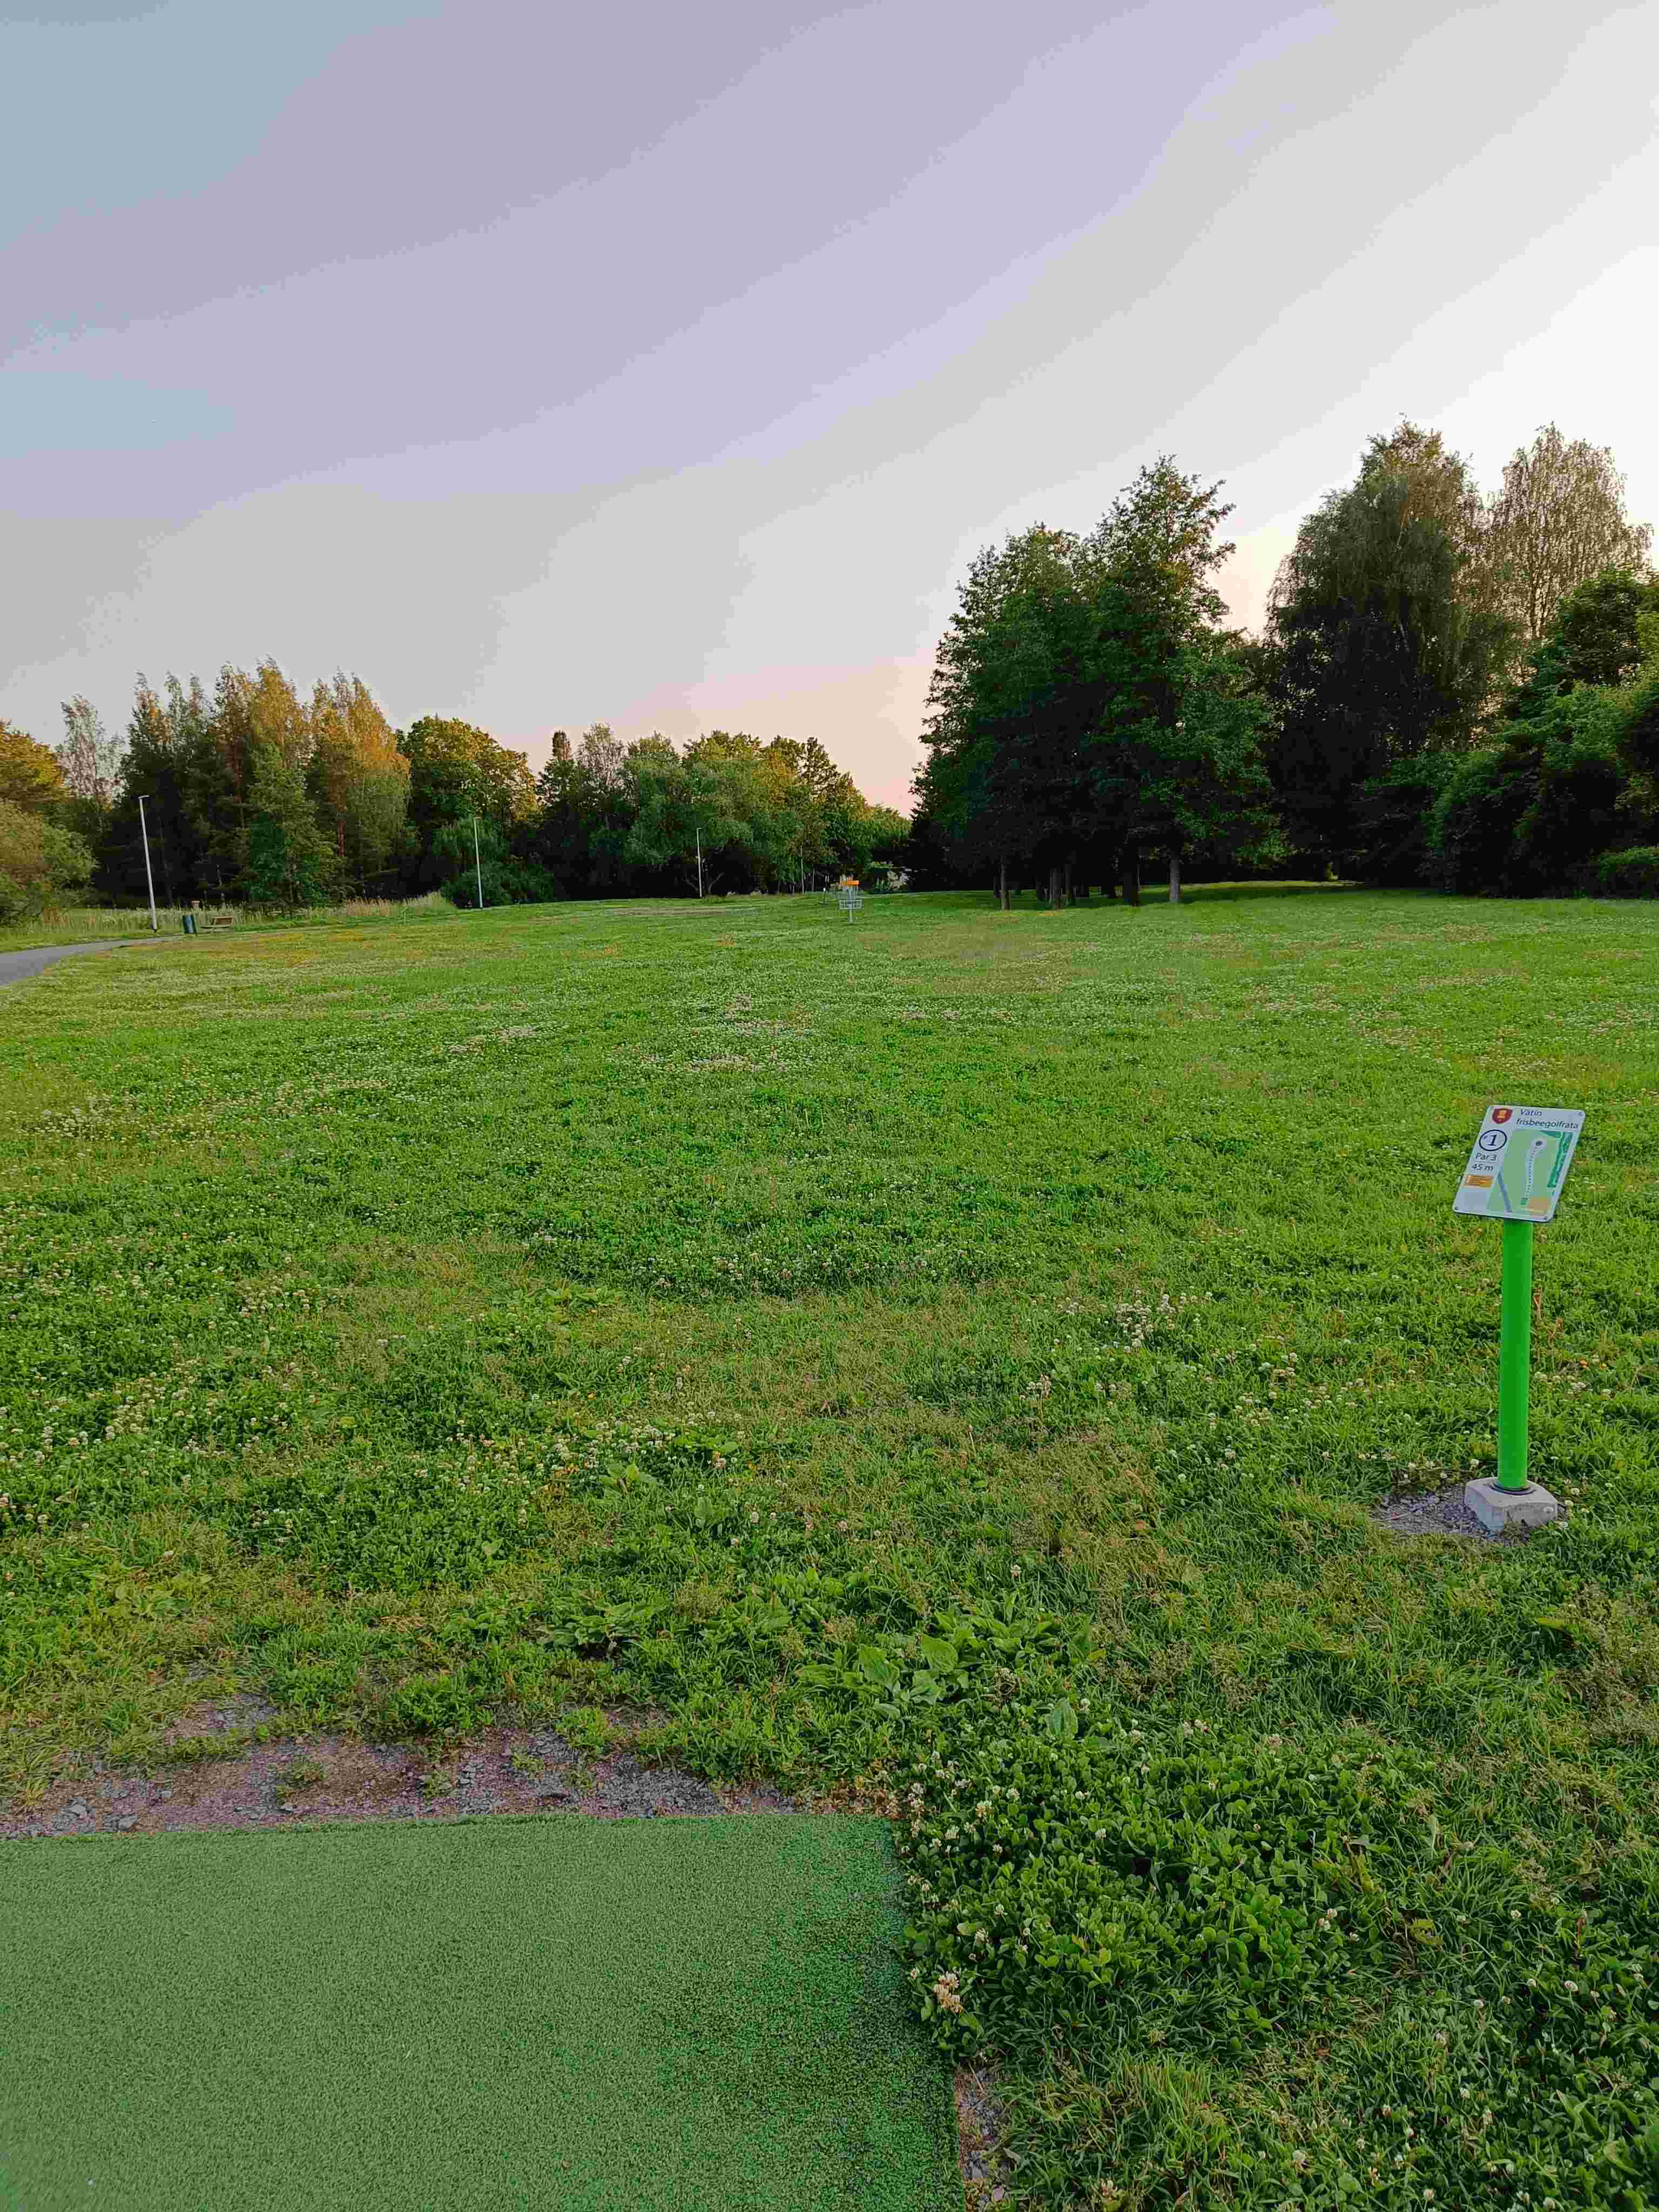
Start your championship round on this scenic parkland hole. The paved path guides your way, but watch for the trees on the left. A gentle introduction to the course with room for a confident opening throw.
Strategy Tip
Take your time on the opening Par 4. The path provides guidance, but stay left of center to avoid the trees. A smooth, controlled drive followed by a precise approach sets the tone for your entire round.
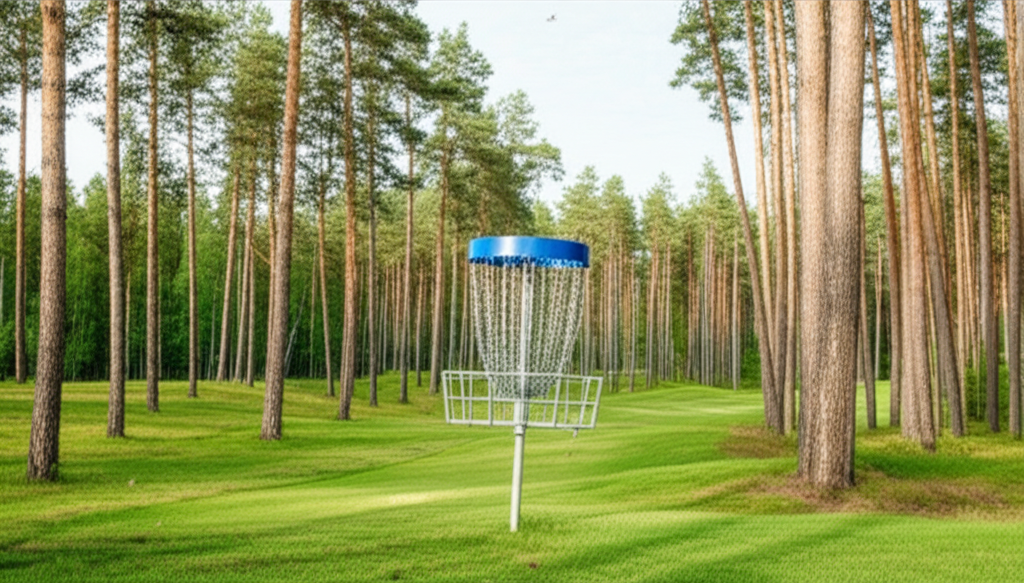
Navigate through the dense forest section of the course. This Par 3 challenges your accuracy as you weave between mature trees. The forest canopy creates a natural tunnel effect, requiring precise disc selection and controlled throws. A true test of technical skill where power takes a backseat to precision.
Strategy Tip
Slow and steady wins in the forest! This Par 3 requires a stable mid-range disc over a driver. Focus on hitting your gaps rather than maximum distance. A controlled throw that stays in bounds beats a powerful throw that finds a tree every time.

Don't let the pond intimidate you on this scenic Par 3! The water hazard adds both beauty and challenge to your round. A straight, confident throw over the water will reward you, but overthinking can lead to trouble. Trust your disc selection and commit to your line - the basket awaits on the far side.
Strategy Tip
Confidence is key over water! Choose a disc you trust completely and commit to your throw. Aim for the center of the fairway beyond the water - don't try to cut corners. A smooth, confident release will carry you safely across.
A demanding Par 4 that separates the champions from the challengers! This hole features multiple obstacles and requires strategic thinking from tee to basket. Navigate through the technical terrain with careful disc selection and precise placement. Every throw matters on this unforgiving but rewarding hole.
Strategy Tip
Break this Par 4 down into segments. Plan your route from tee to basket, identifying safe landing zones. Sometimes the longest path is the smartest path. Use your most reliable discs and avoid risky hero shots.
Conquer the elevation on this challenging uphill Par 4! The slope tests both your arm strength and disc selection skills. Use the wind to your advantage and choose a disc with good glide. This hole rewards players who can adapt their throwing technique to the terrain - a true uphill battle worth winning.
Strategy Tip
Adjust your throwing technique for the uphill slope on this Par 4. Choose a disc with extra glide and throw with slightly more power than usual. The elevation will eat some of your disc's energy, so plan accordingly.
Master the curve on this strategic Par 3! A sharp right turn defines this hole, requiring either a perfectly executed curve shot or a strategic layup approach. The bend challenges your shot-shaping abilities - will you risk the direct line or play it safe around the corner?
Strategy Tip
Study the bend carefully before throwing this Par 3. You can either shape a curve shot around the corner or throw a safe layup to set up an easier approach. Know your shot-shaping abilities and don't attempt shots beyond your skill level.
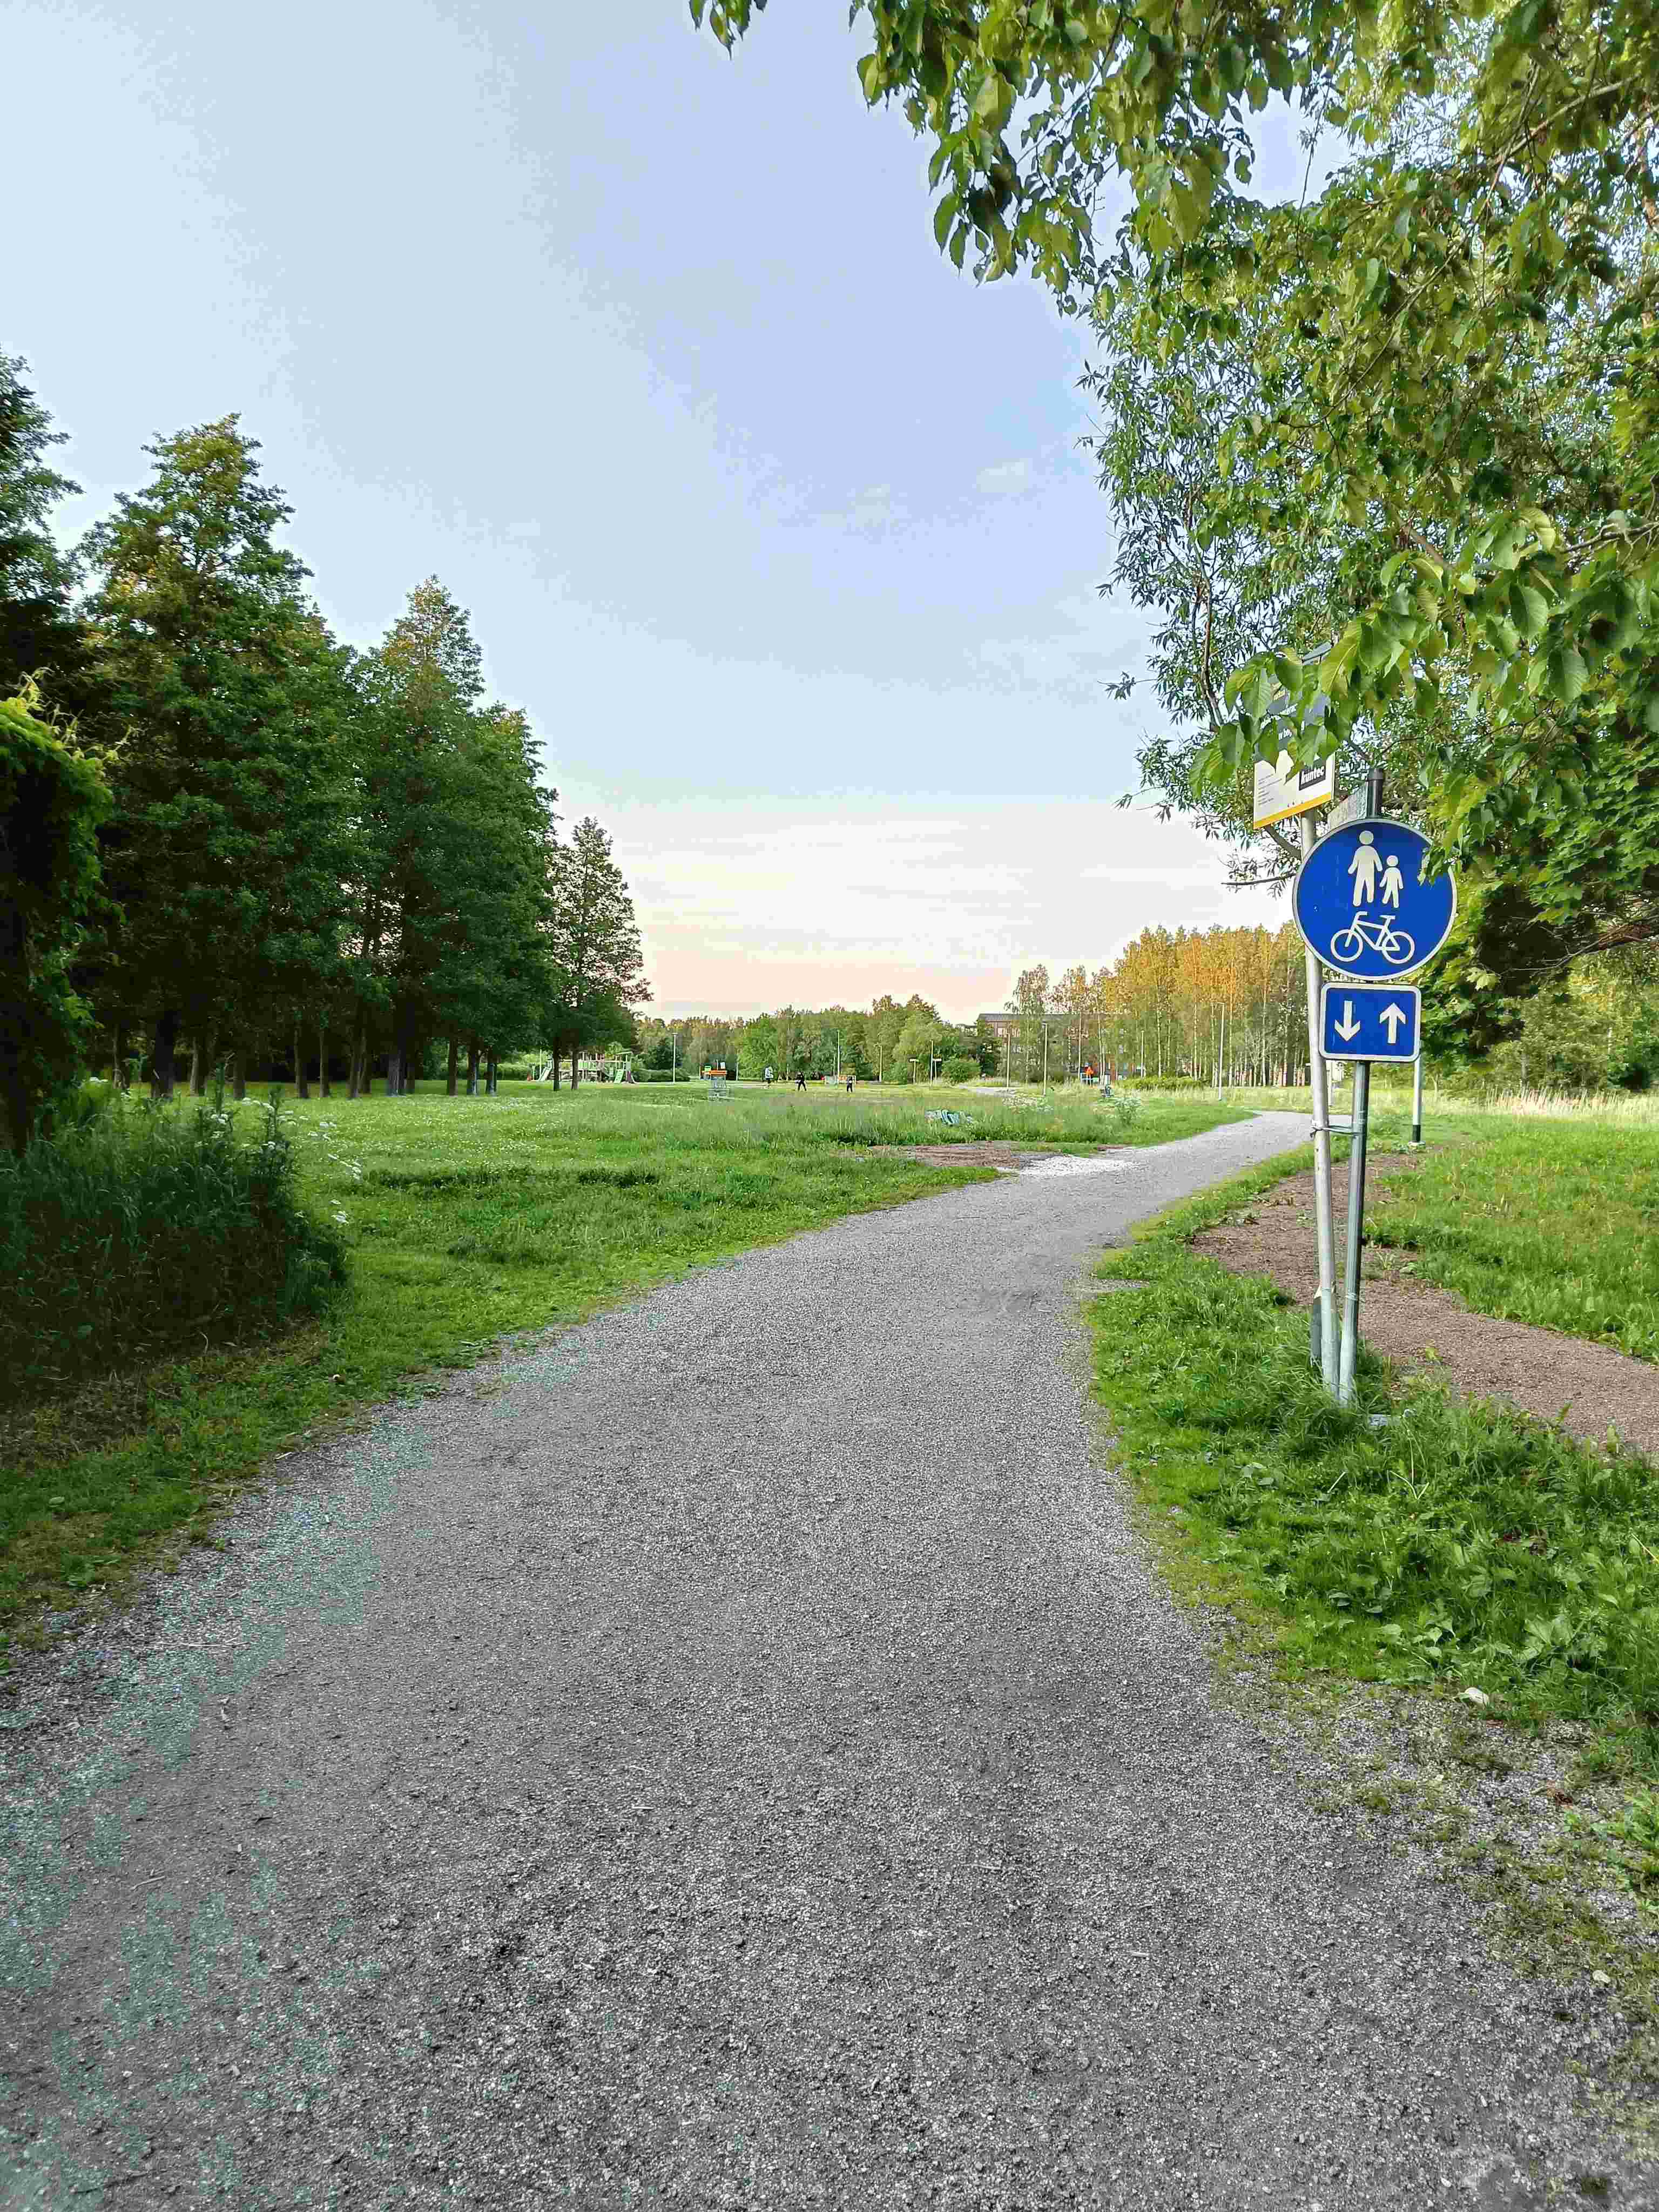
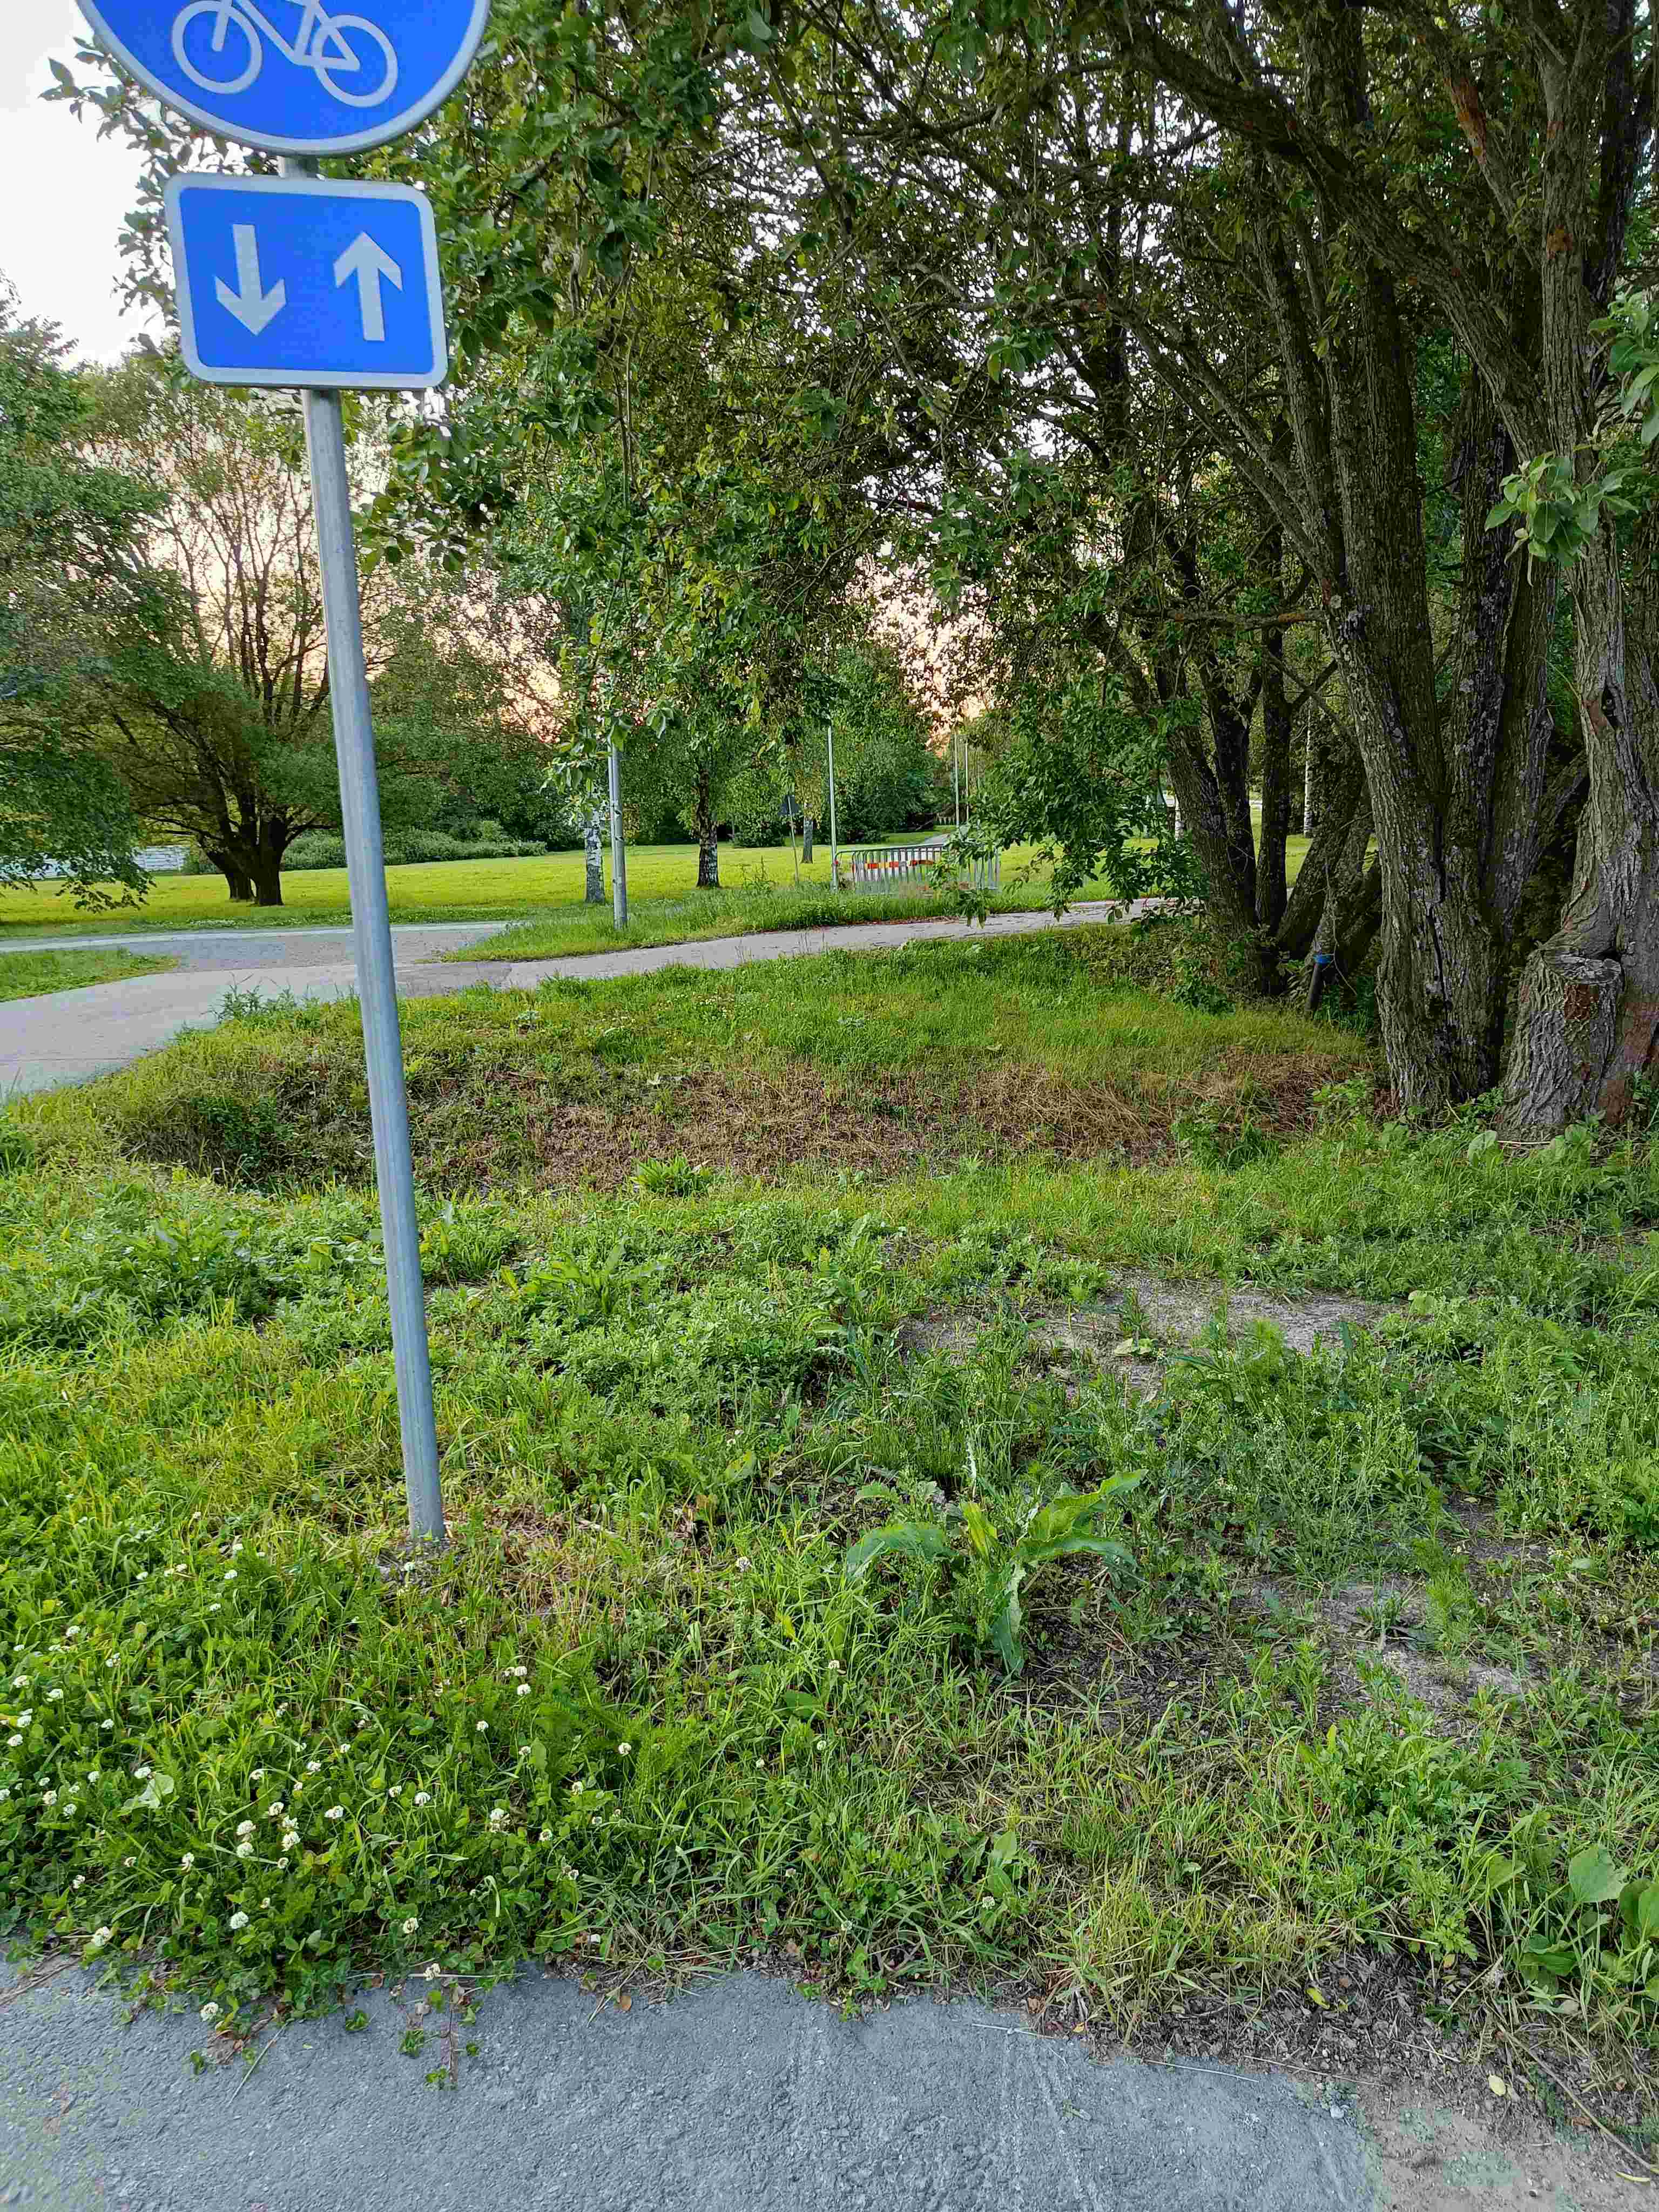
A unique Par 4 where disc golf meets the community! This hole features an interesting mix of open parkland and natural rough areas, with bicycle paths crossing through the playing area. Navigate between the mature trees while being mindful of the multi-use nature of this space. The varied terrain - from maintained grass to natural vegetation - adds an extra strategic element to your throw selection.
Strategy Tip
This multi-use Par 4 requires extra awareness! Watch for cyclists and pedestrians, and choose your disc carefully for the mixed terrain. The rough vegetation can grab discs, so aim for the cleaner grass areas. A mid-range disc with good control is often better than a driver here - precision over power in this community space.
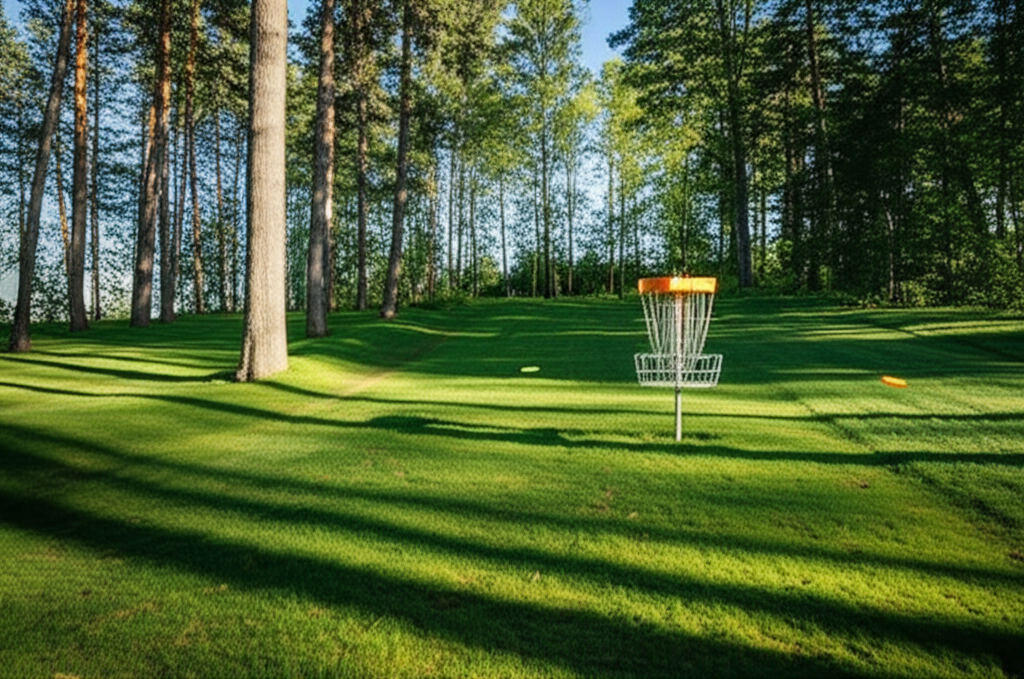
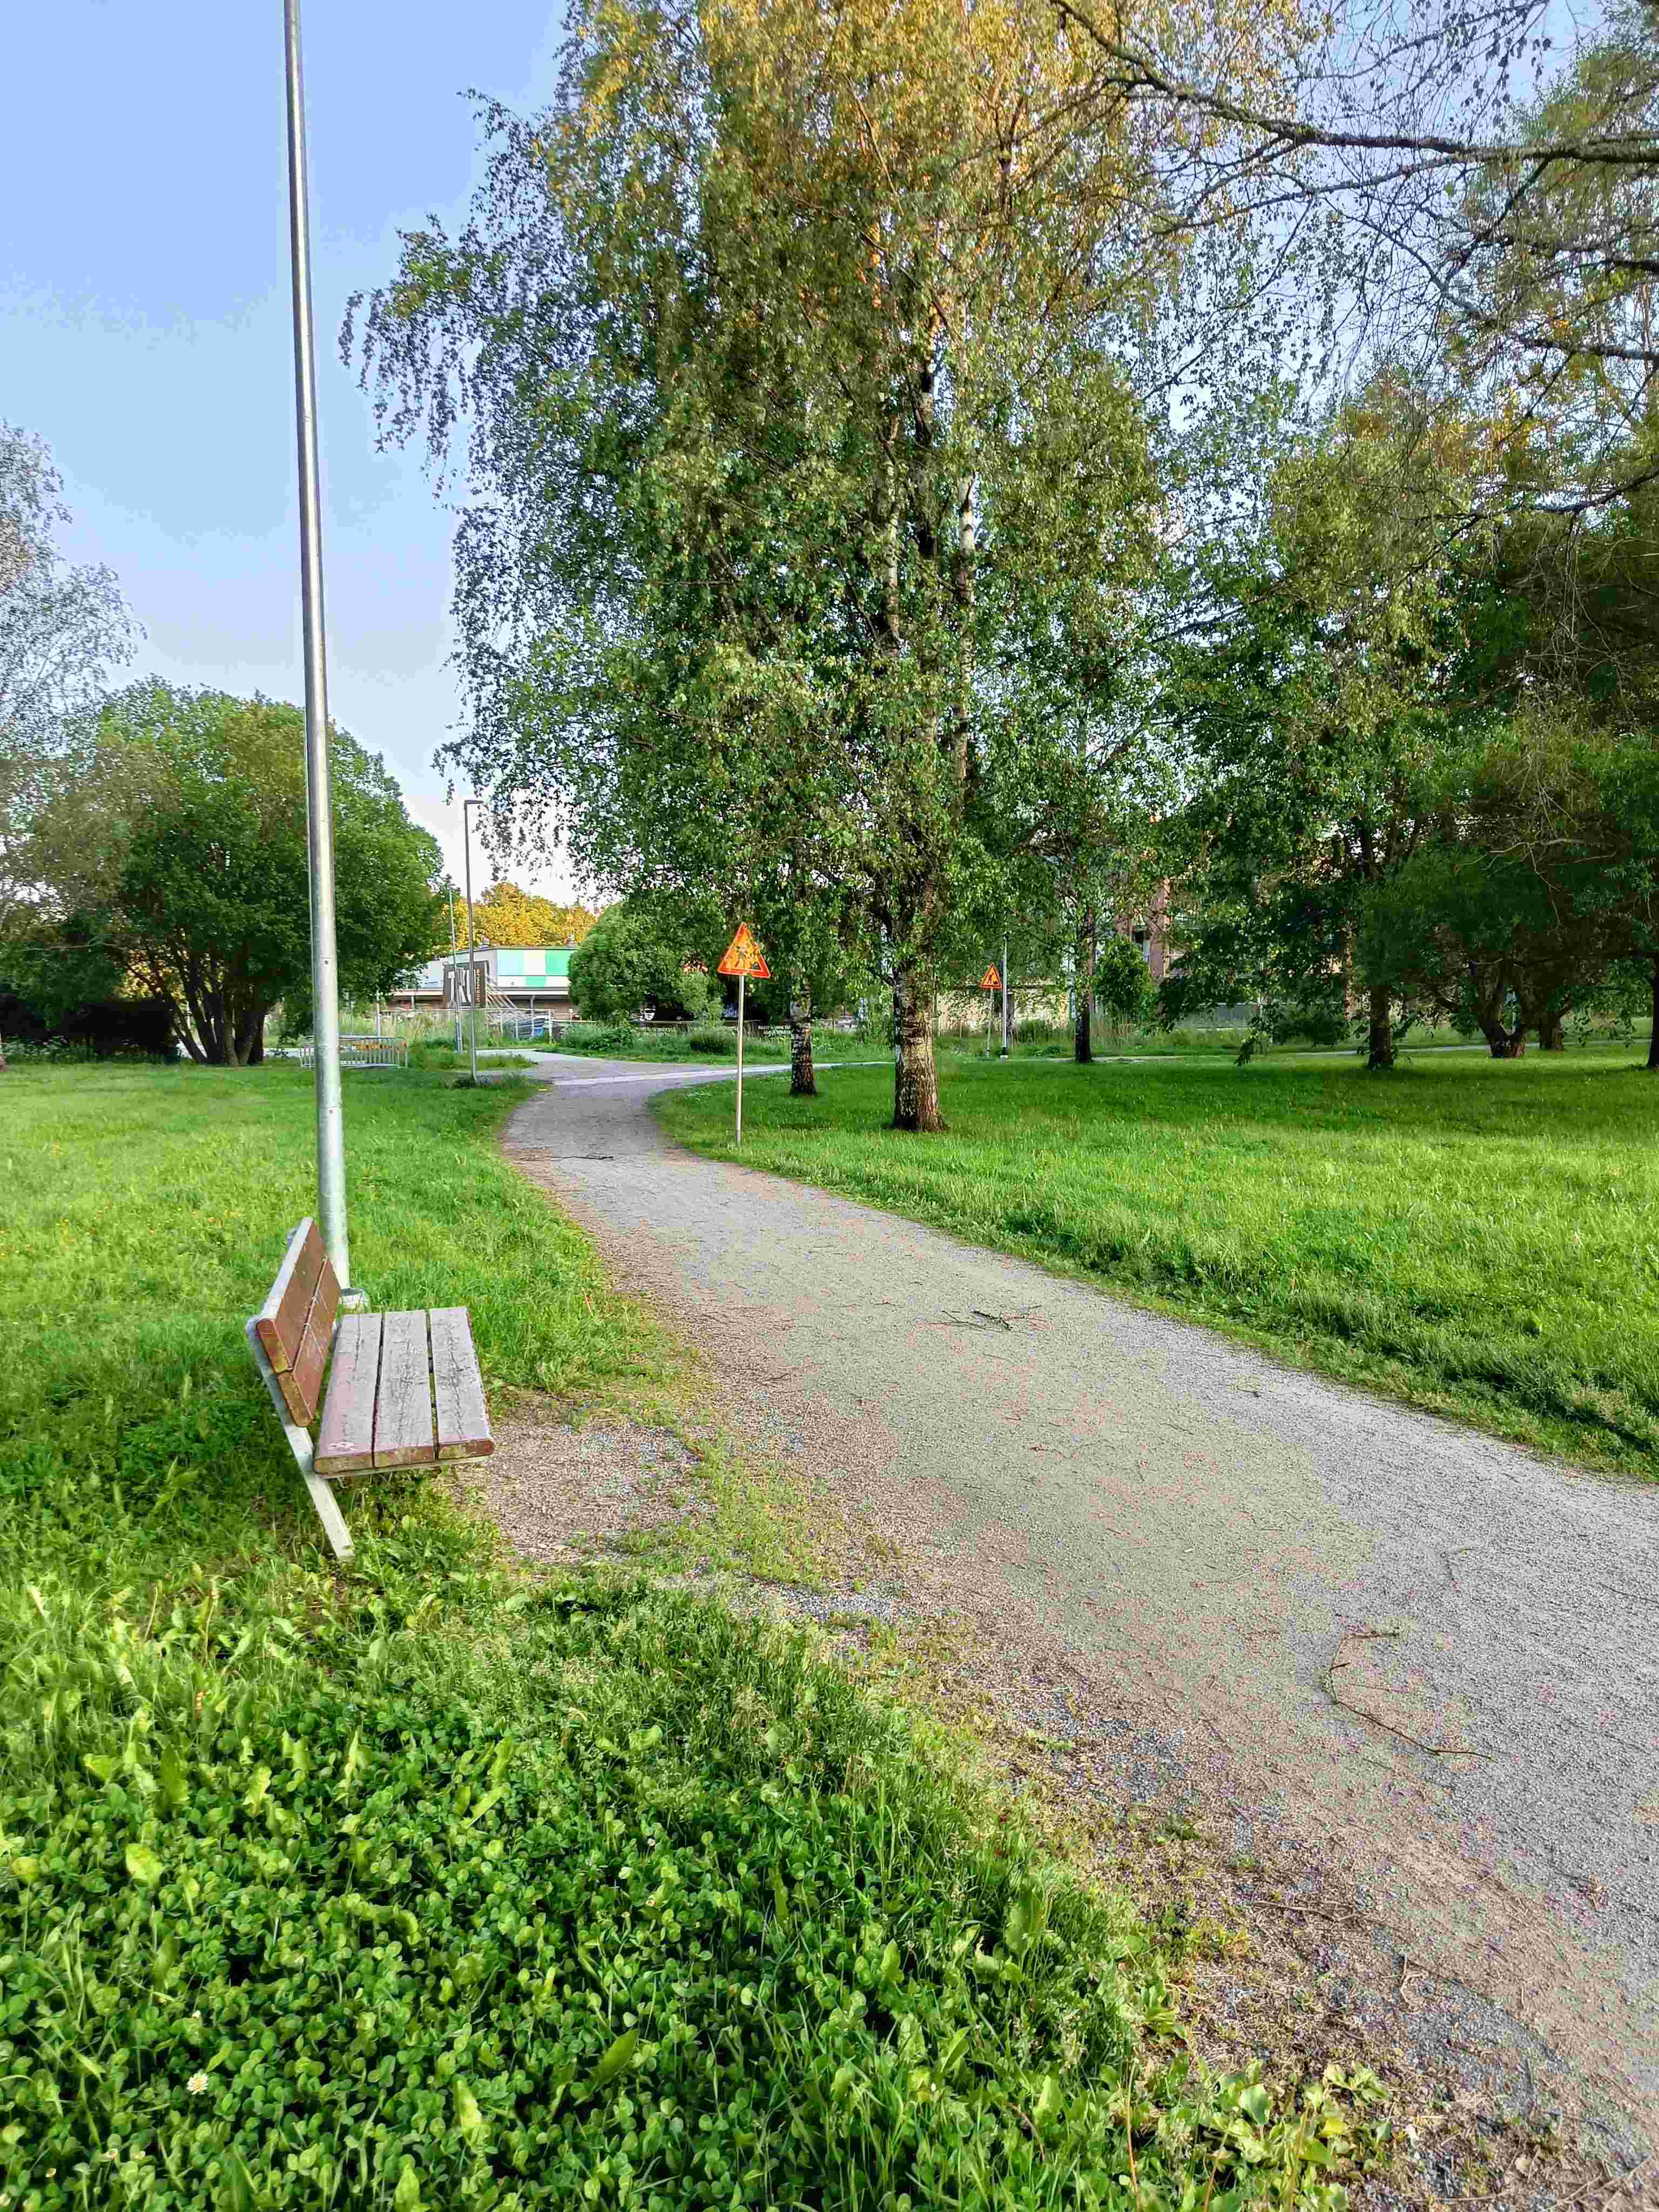
A strategic Par 3 that offers a moment of contemplation! This hole features a curved paved path with a convenient bench where you can plan your approach. Navigate between the mature trees while following the path's guidance. The orange disc golf markers help guide your way, but you'll need to choose your line carefully through this parkland setting. A perfect spot to take a breath and focus on your technique.
Strategy Tip
Use the curved path as your guide and don't rush this Par 3. The bench provides a perfect vantage point to study your line through the trees. Follow the orange markers and aim for the gaps between the mature trees. A controlled, accurate throw beats power here - take advantage of the rest spot to plan your strategy carefully.
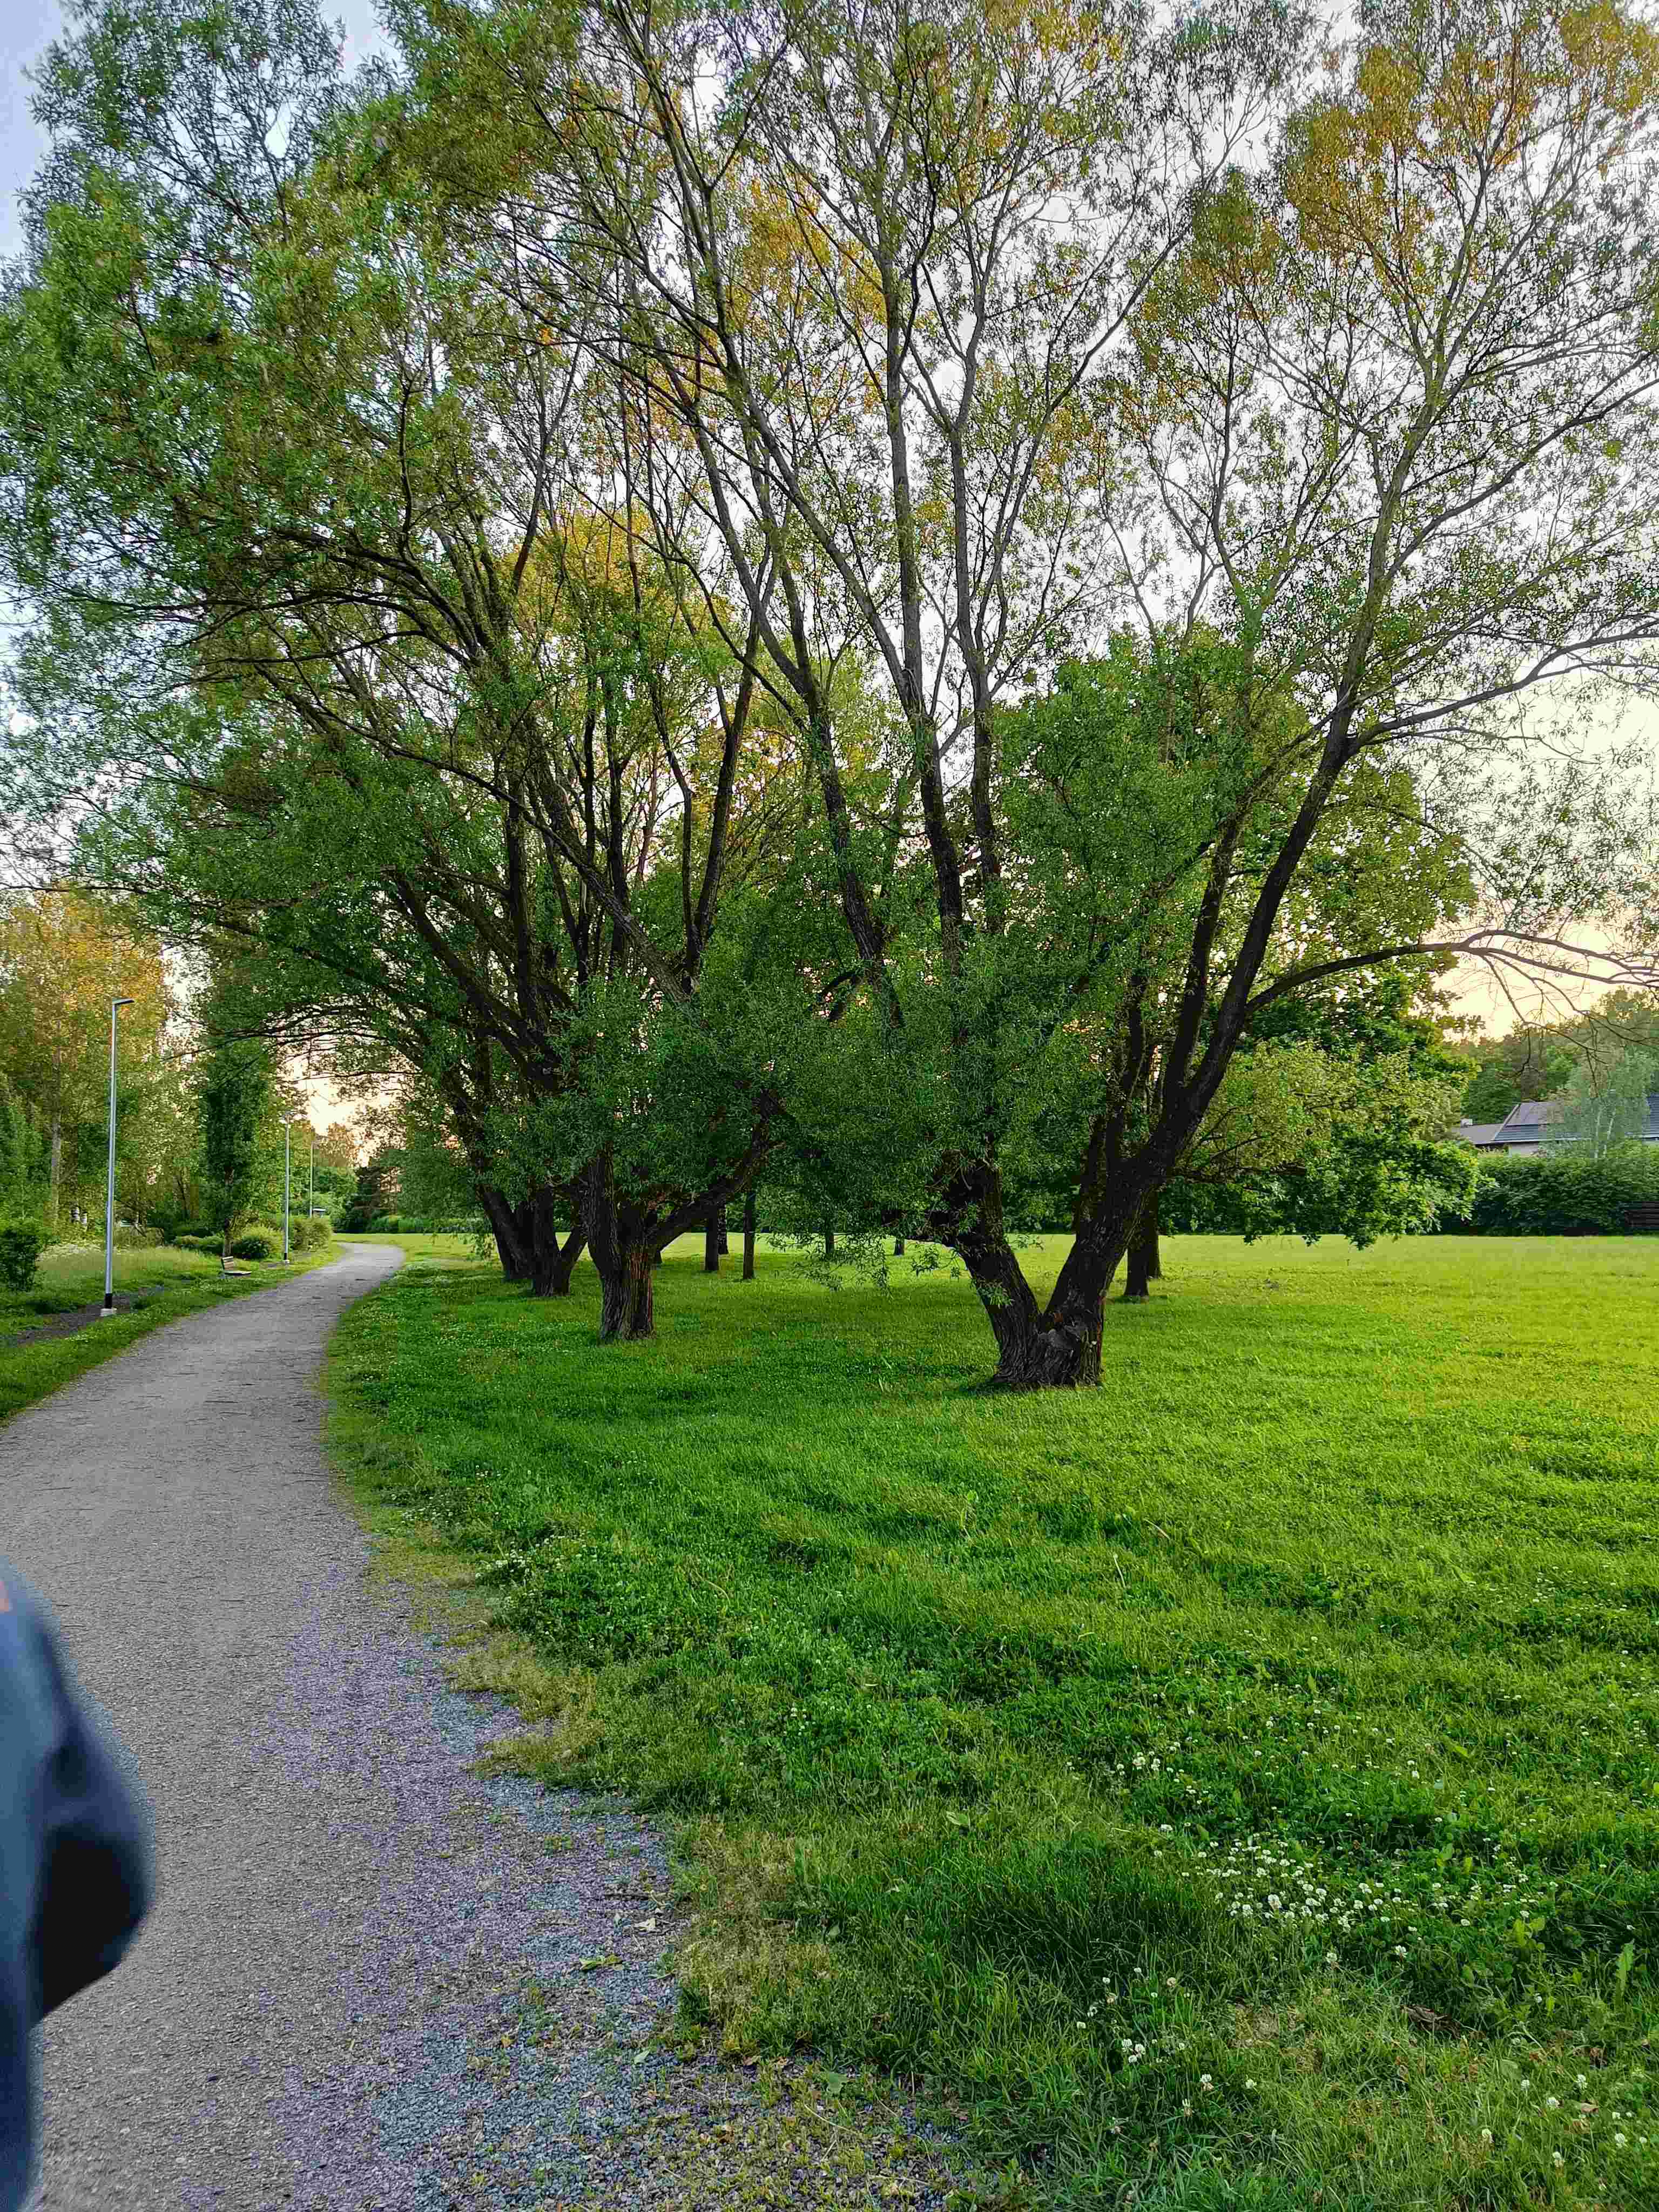
The turn-around point of your championship round! This scenic Par 5 winds through a beautiful grove of mature birch trees. The paved path guides your approach, but you'll need to navigate between the distinctive white-barked trees to reach the basket. A peaceful yet strategic hole that marks the halfway point - take a moment to appreciate the natural beauty before focusing on your line through the birches.
Strategy Tip
The halfway point deserves respect! This Par 5 gives you room to unleash power, but use the paved path as your guide and aim for the gaps between the birch trees. Plan your approach shots carefully - this is a scoring opportunity if you play it smart.
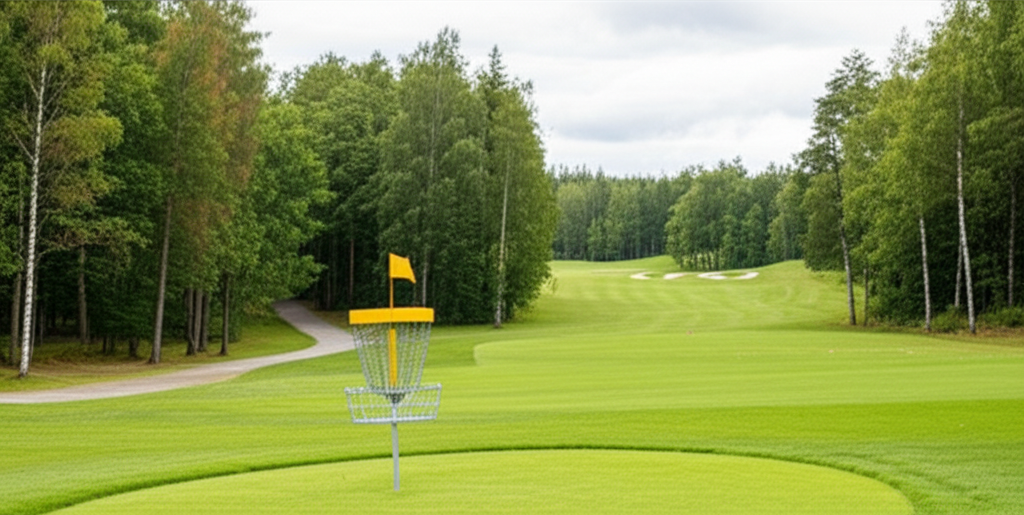
The penultimate challenge! This strategic Par 5 features a wide fairway with the paved path as your guide. With trees lining both sides and an open field ahead, this hole demands both power and placement. Sir King Diamond knows this is where you set up your championship run - one hole before the finale!
Strategy Tip
The setup hole for your championship run! This Par 5 features a wide fairway with the paved path as your guide. With trees lining both sides and an open field ahead, this hole demands both power and placement. Use your distance driver but stay strategic - you want to be in perfect position for the final hole.

The ultimate test! This challenging Par 4 demands both power and precision. With trees lining the fairway and plenty of room to let it fly, this is where champions are made. The final hole on the course - finish strong and claim your victory under the evening sky!
Strategy Tip
This is it - the championship decider! This challenging Par 4 requires both power and precision. With trees lining the fairway, you need to find the right balance between distance and accuracy. Use your most reliable driver, aim for the center of the fairway, and trust your instincts. Champions are made on this hole!